
Discover Delicious Gluten-Free Recipes


kid approved back to school Recipes
Recipe Faves for Back to School
GFGluten FreeDFDairy FreeNFNut FreeSFSoy Free
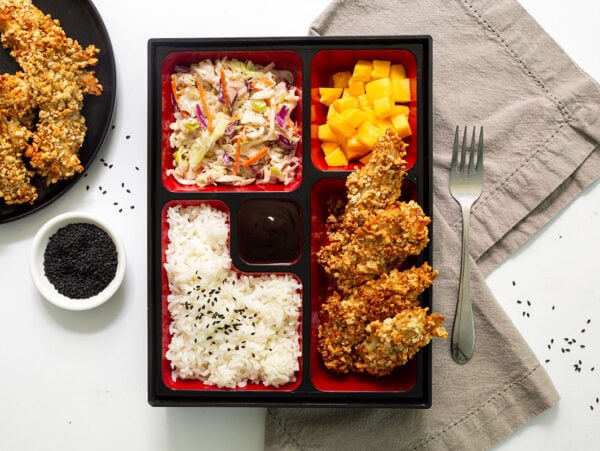
Back-to-School Air Fryer Katsu Chicken Tenders
GFGluten FreeGRGrain FreeNFNut FreeSFSoy Free
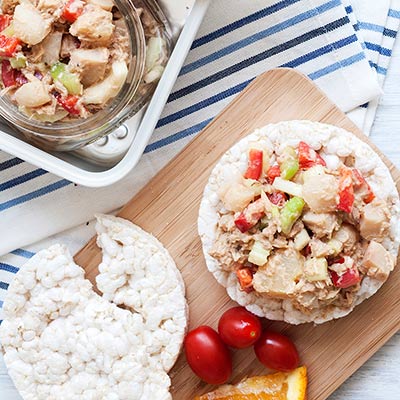
Gluten Free Polynesian Tuna Salad Recipe
GFGluten FreeDFDairy FreeGRGrain FreeEFEgg FreeNFNut Free
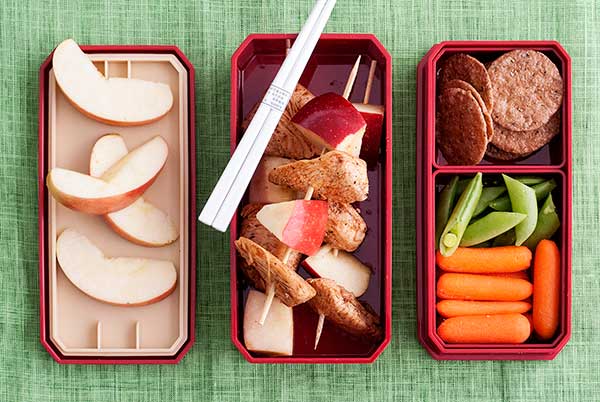
Gluten Free Chicken & Apple Skewers Recipe
GFGluten FreeDFDairy FreeEFEgg FreeNFNut FreeRSRefined Sugar Free
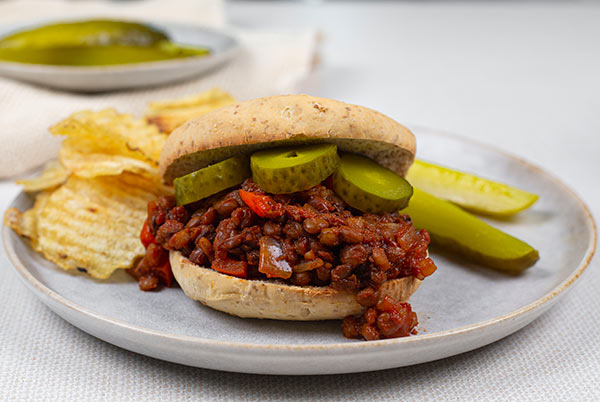
Gluten-Free Lentil Sloppy Joes
GFGluten FreeDFDairy FreeGRGrain FreeEFEgg FreeNFNut Free
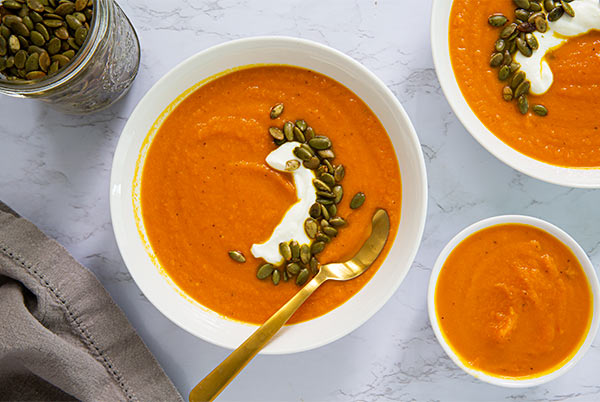
Calcium-Fortified Carrot Orange Soup
start the day right

GFGluten FreeDFDairy FreeEFEgg FreeRSRefined Sugar FreeVGVegetarian
Boost Your Day with a Dragon Fruit Smoothie Bowl
GFGluten FreeDFDairy FreeGRGrain FreeEFEgg FreeSFSoy Free
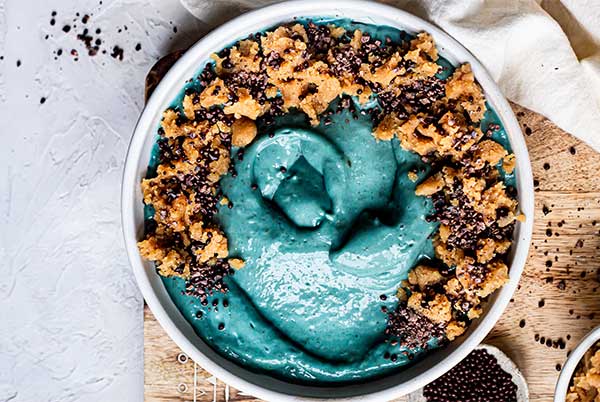
“Cookie Monster” Smoothie Bowl

GFGluten FreeDFDairy FreeEFEgg FreeNFNut FreeRSRefined Sugar Free
GLUTEN-Free Overnight Oats
GFGluten FreeDFDairy FreeEFEgg FreeRSRefined Sugar FreeSFSoy Free
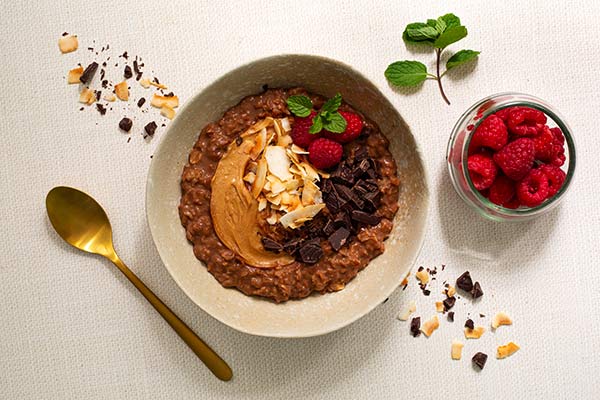
Gluten Free Chocolate Coconut Oatmeal
GFGluten FreeDFDairy FreeGRGrain FreeEFEgg FreeRSRefined Sugar Free
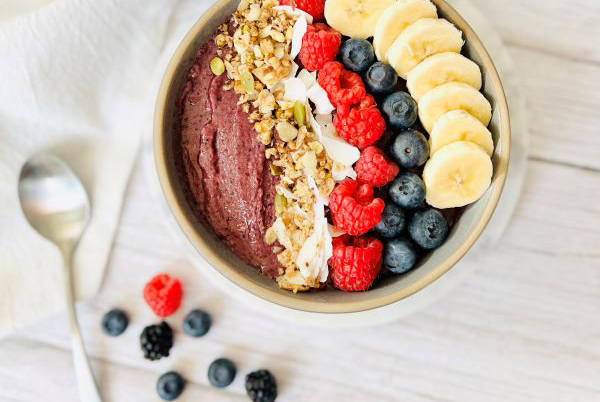
Berry Açai Smoothie Bowl
The Latest

GFGluten FreeGRGrain FreeEFEgg FreeNFNut FreeRSRefined Sugar Free
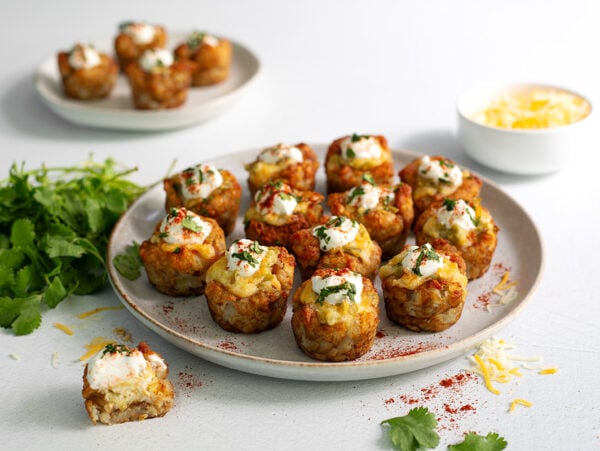
Hatch Chile Tater Tot Poppers – Perfect for Game Day Snacking
GFGluten FreeDFDairy FreeEFEgg FreeNFNut Free
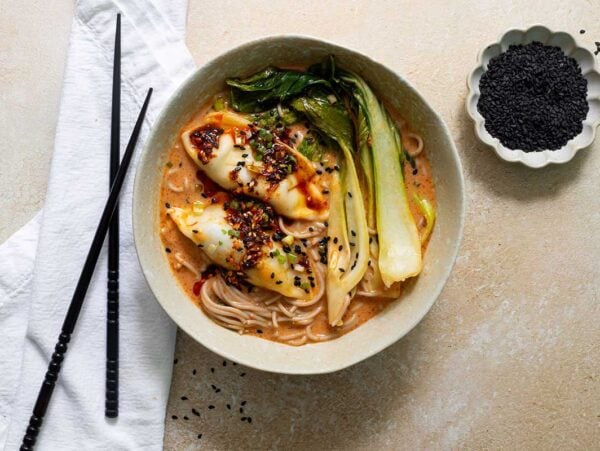
Gluten-Free Ramen Dumpling Bake

Welcome
You’ve just landed in your gluten-free happy place! Gluten Free & More is America’s #1 allergen-free magazine, and we’re proud to be a vibrant collection of gluten-free voices, stories, and recipes that inspire and uplift.
Most Popular

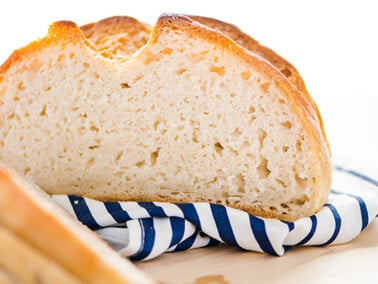
GFGluten FreeNFNut FreeSFSoy FreeVGVegetarian
Gluten Free Easy, Easy, Easy! French Bread Recipe
GFGluten FreeDFDairy FreeEFEgg FreeRSRefined Sugar FreeVGVegetarian
Boost Your Day with a Dragon Fruit Smoothie Bowl
GFGluten FreeDFDairy FreeEFEgg FreeNFNut FreeRSRefined Sugar Free
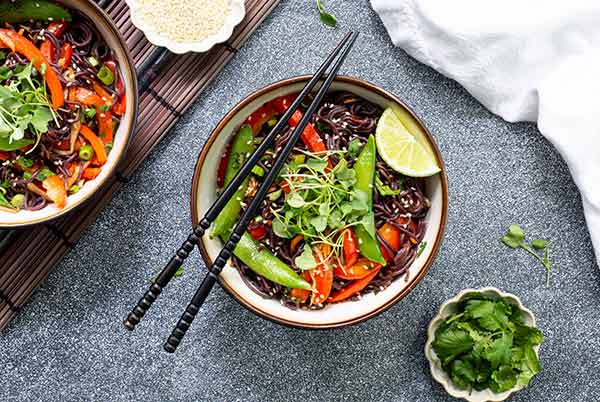
Gluten-Free Black Rice Noodle Stir-Fry

GFGluten FreeNFNut FreeSFSoy Free
Gluten Free Angel Food Cake Recipe

GFGluten FreeGRGrain FreeVGVegetarian
Grain Free Vanilla Cupcakes
Find the perfect recipe
Search by ingredient, meal type, or keyword to find your next favorite dish.

Never miss an issue!
Gluten Free & More Magazine is America’s number one gluten and allergen-free magazine. Subscribe now and save up to 62%
Figure Friendly Favorites

GFGluten FreeDFDairy FreeGRGrain FreeEFEgg FreeNFNut Free
Chickpea Salad Niçoise
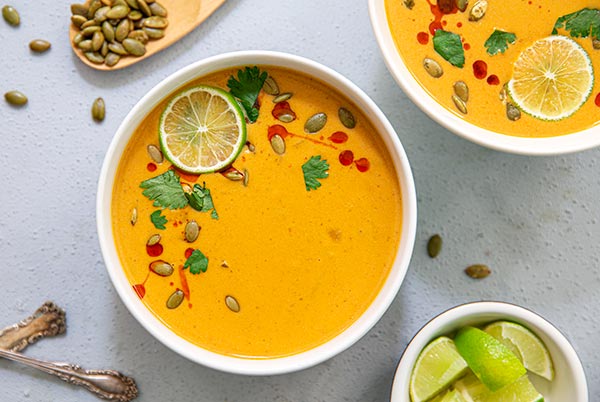
GFGluten FreeDFDairy FreeGRGrain FreeEFEgg FreeSFSoy Free
Dairy-Free Thai Pumpkin Soup
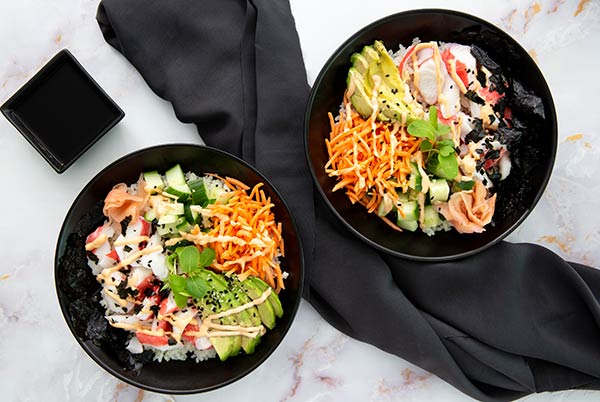
GFGluten FreeDFDairy FreeEFEgg FreeNFNut FreeVGVegetarian
California Sushi Bowls
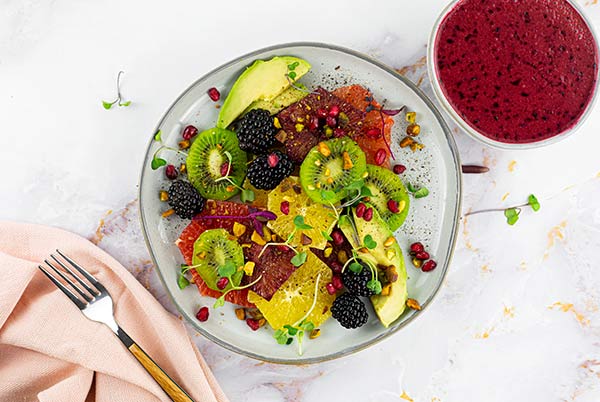
GFGluten FreeGRGrain FreeEFEgg FreeVGVegetarian
Citrus Avocado Salad with Blueberry Vinaigrette Recipe
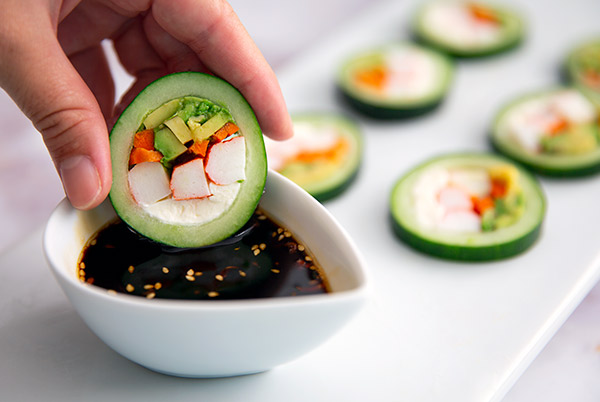
GFGluten FreeEFEgg FreeNFNut Free
Cucumber Sushi
Even More To Explore


stay in touch!
Sign up for our monthly newsletter and join our gluten-free community.


