
Shelf-Stable Dill Pickle Spears

Published Aug 09, 2026
This post contains affiliate links. Please see our disclosure policy.
Preserve Your Garden Harvest with This Easy Water Bath Canning Recipe
There’s something incredibly satisfying about opening a jar of homemade pickles in the middle of winter and tasting the freshness of summer. Whether your garden is overflowing with cucumbers or you’ve come home from the farmers market with more than you can eat, making Shelf-Stable Dill Pickle Spears is one of the easiest, and most rewarding, ways to preserve your harvest.
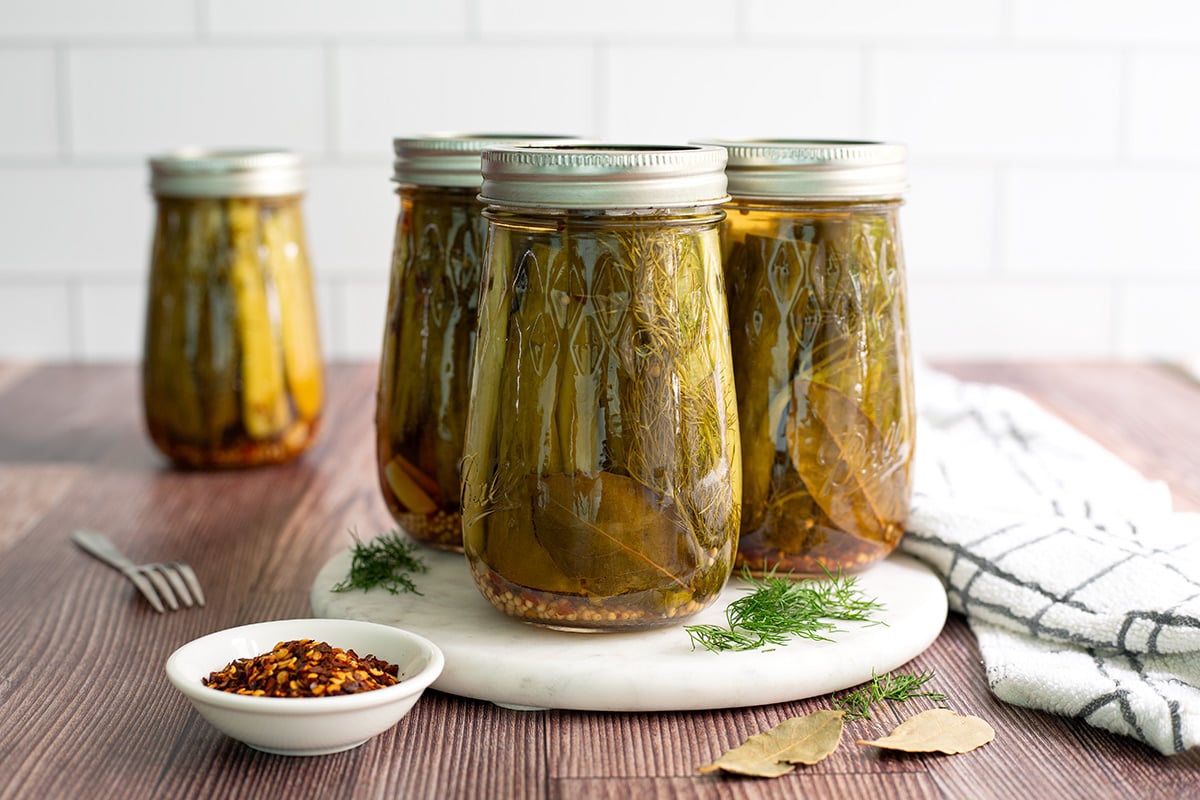
Table of Contents
- Preserve Your Garden Harvest with This Easy Water Bath Canning Recipe
- Why You’ll Love These Homemade Dill Pickles
- Turn Your Summer Harvest into Pantry Gold
- Why Soaking Cucumbers in Ice Water Matters
- What You’ll Need
- Why De La Rosa White Distilled Vinegar?
- Tips for Crisp, Flavorful Pickles
- Serving Ideas
- Frequently Asked Questions
- Make Your Pantry Work for You
- Our Recipe Development Process
- Shelf-Stable Dill Pickle Spears Recipe
Instead of watching fresh cucumbers go to waste, you can transform them into crisp, tangy dill pickle spears that will last for up to a year in your pantry when properly canned. Made with De La Rosa White Distilled Vinegar, fresh dill, garlic, mustard seed, and a simple water bath canning method, these pickles are perfect for burgers, sandwiches, charcuterie boards, or snacking straight from the jar.
Why You’ll Love These Homemade Dill Pickles
If you’ve never canned before, dill pickles are a wonderful place to start. The ingredients are simple, the process is straightforward, and the reward is a pantry full of crisp, flavorful pickles you can enjoy long after cucumber season has ended.
This recipe is:
- Gluten-free
- Vegan
- Dairy-free
- Egg-free
- Nut-free
- Soy-free
- Refined sugar-free
- Shelf-stable when properly processed
- Perfect for preserving garden and farmers market cucumbers
Turn Your Summer Harvest into Pantry Gold
Late summer often brings an abundance of cucumbers. Garden plants seem to produce overnight, and farmers markets are filled with baskets of fresh, locally grown cucumbers at their peak.
Instead of scrambling to use them all before they soften, canning allows you to preserve that peak-season flavor for months to come. It’s an economical way to reduce food waste, stretch your grocery budget, and enjoy homemade pickles throughout the year.
There’s also something special about stocking your pantry with rows of sparkling jars. They make thoughtful homemade gifts during the holidays and are always appreciated by friends, neighbors, and hosts.
Why Soaking Cucumbers in Ice Water Matters
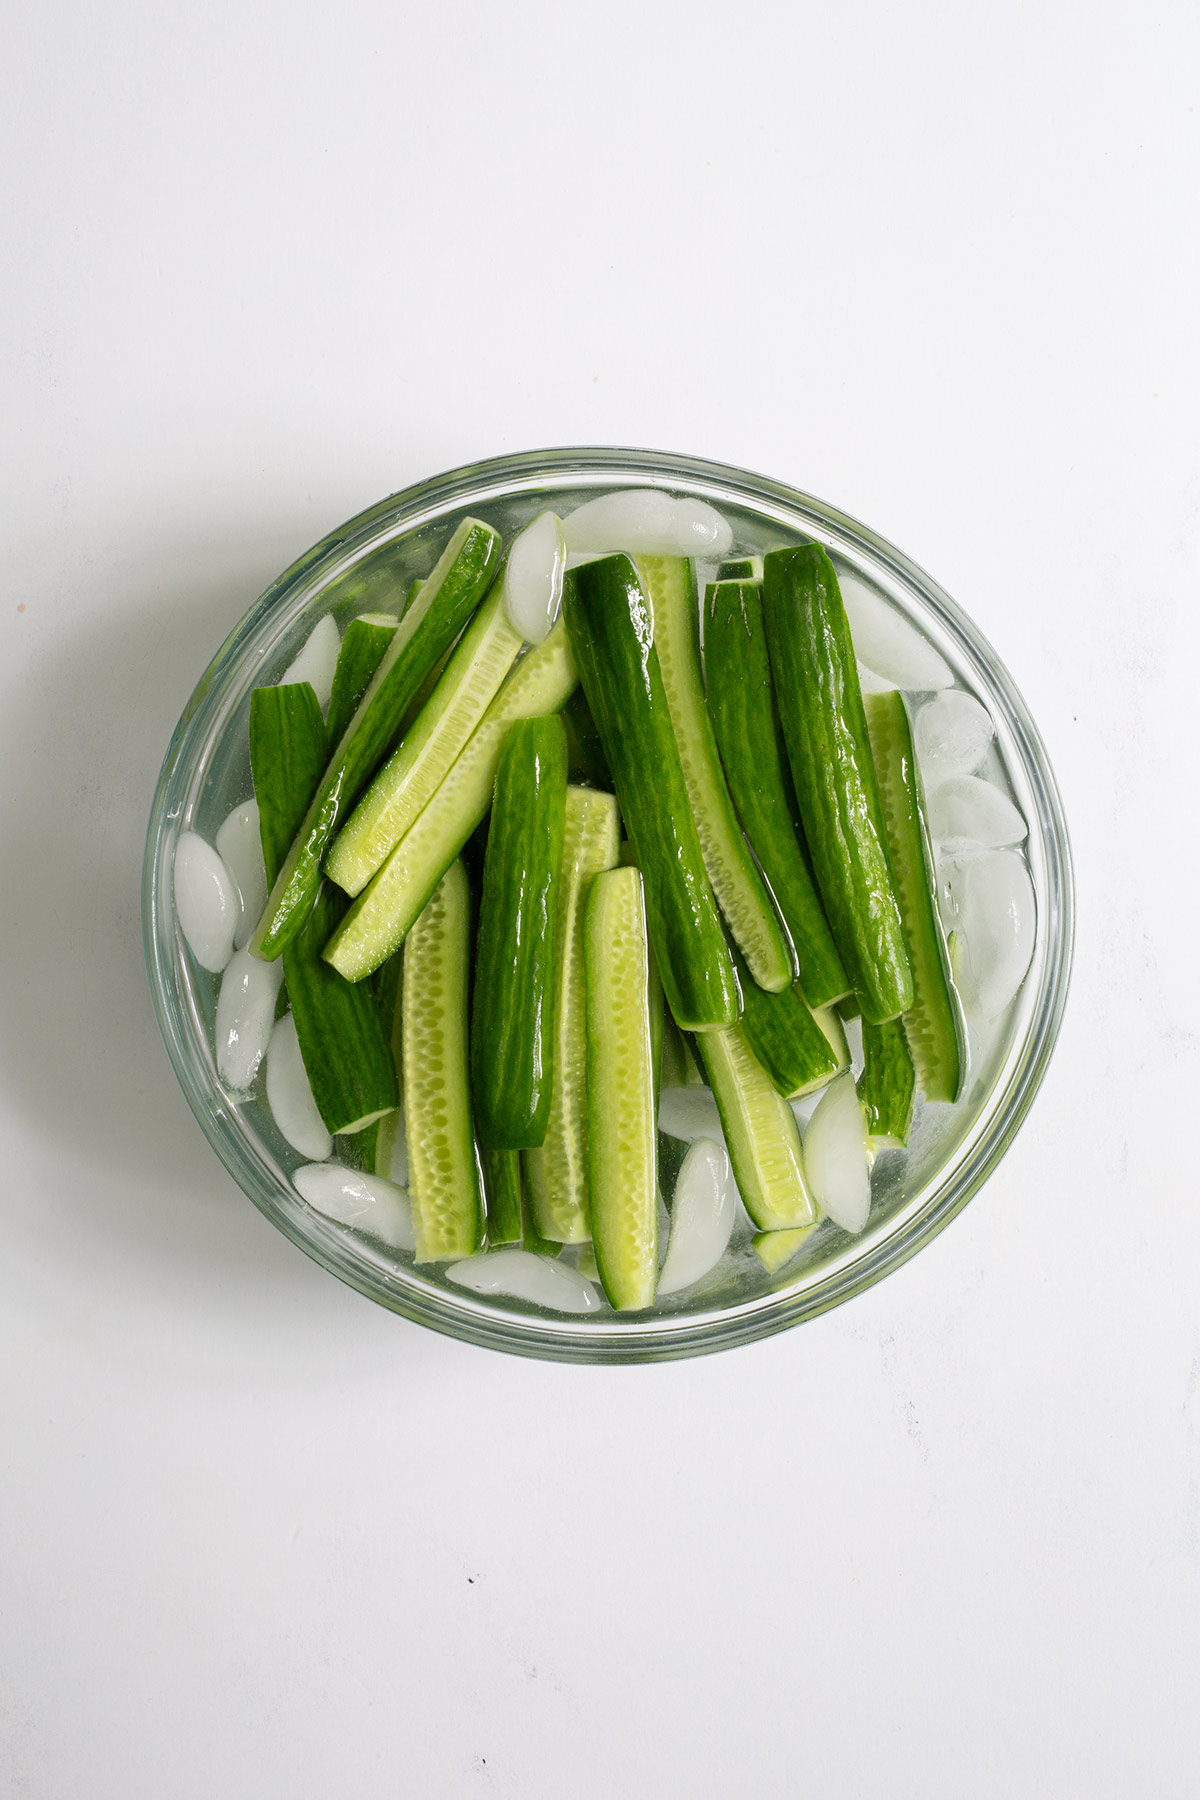
One of the secrets to exceptionally crisp pickles is soaking the cucumber spears in ice water before canning. This simple step helps firm the cucumbers before they’re packed into jars, giving you a much crisper finished pickle. The recipe recommends soaking the cucumber spears for 2 to 4 hours before canning.
What You’ll Need
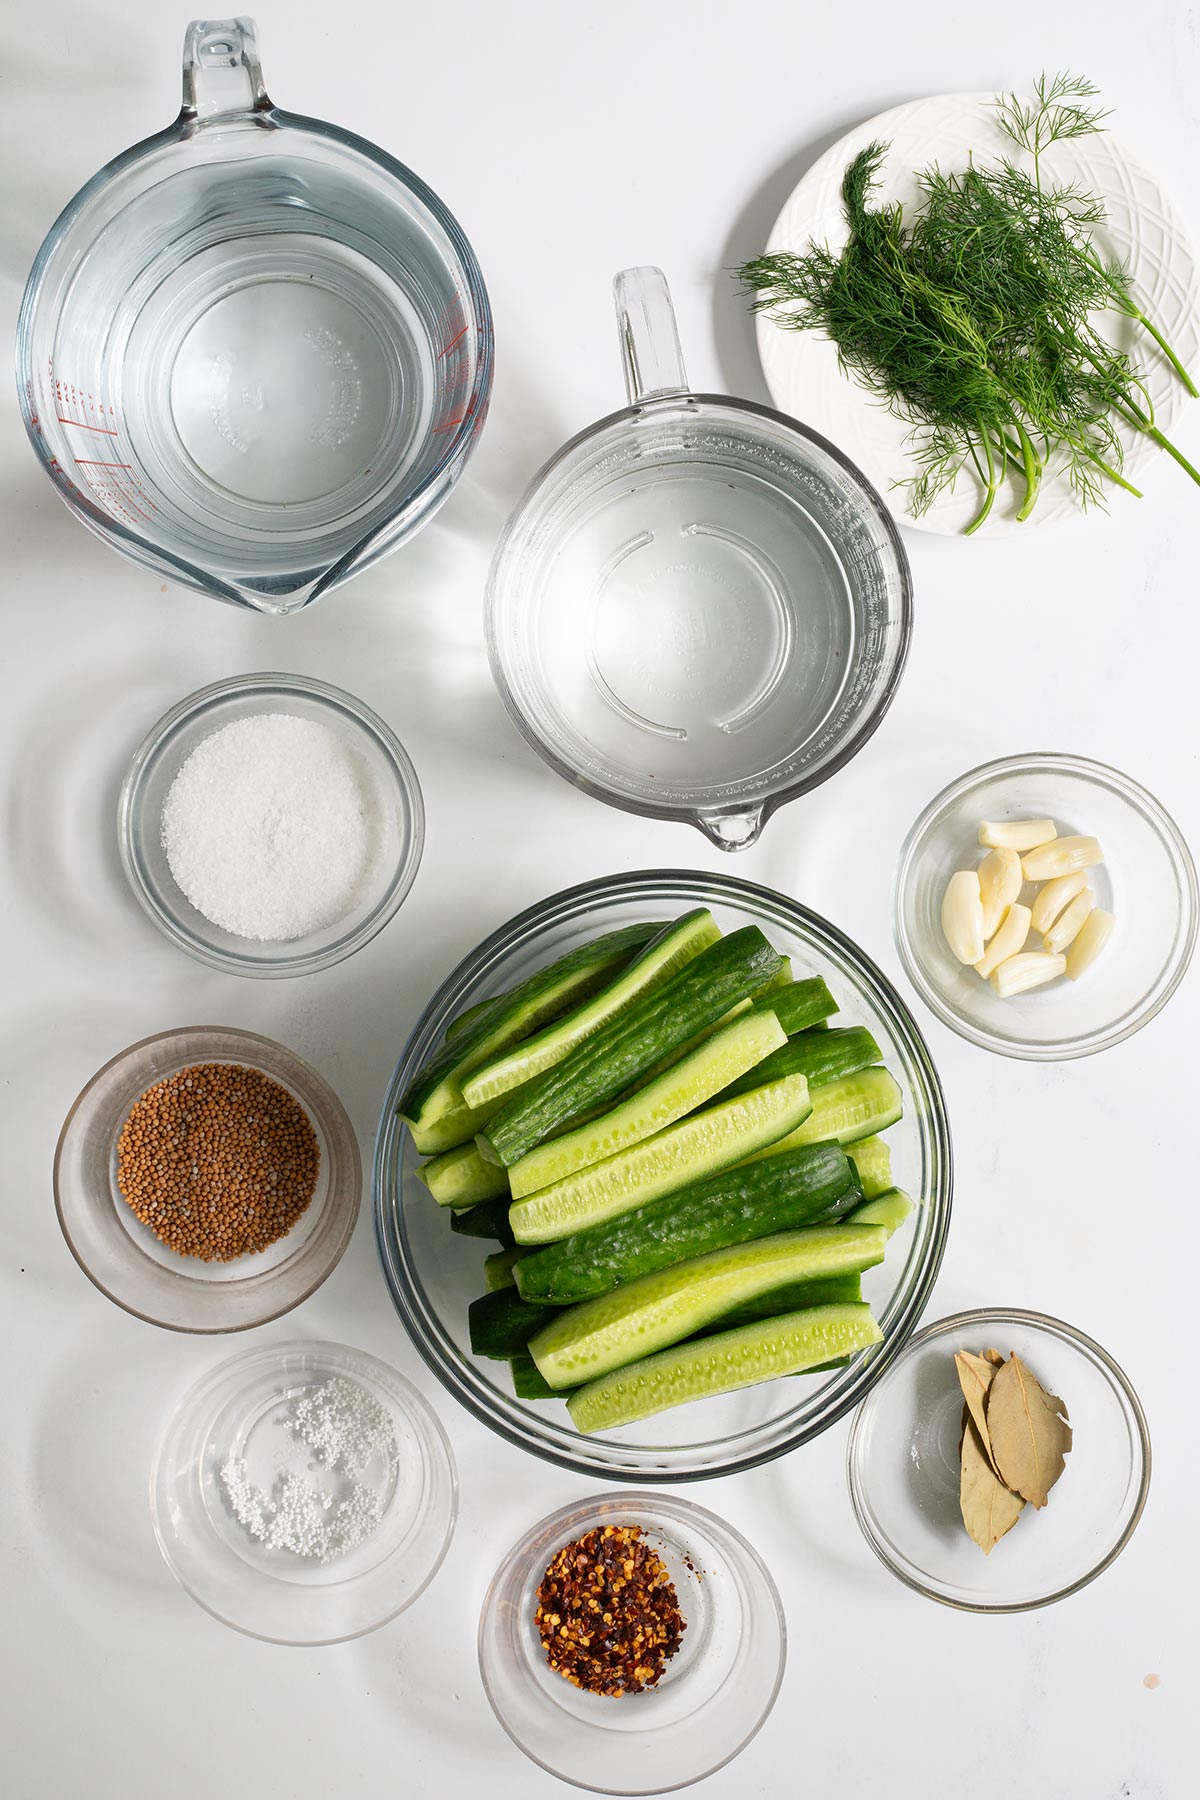
This recipe uses fresh, uncomplicated ingredients:
- Mini seedless cucumbers
- De La Rosa White Distilled Vinegar
- Water
- Pickling salt
- Fresh garlic
- Fresh dill
- Bay leaves
- Mustard seeds
- Black peppercorns
- Optional red pepper flakes
- Pickle Crisp (calcium chloride)
You’ll also need basic water bath canning equipment, including pint jars, lids, bands, a canning pot, jar lifter, funnel, and a bubble remover or thin spatula.
Why De La Rosa White Distilled Vinegar?
A quality distilled white vinegar provides the clean, bright acidity that classic dill pickles are known for. It allows the fresh dill, garlic, and spices to shine while creating a balanced brine that preserves both flavor and texture.
Because the vinegar is such a key ingredient in the brine, using a dependable, consistent product helps produce reliable results every time.
Tips for Crisp, Flavorful Pickles
A few small details make a big difference.
Trim the Blossom End
The recipe calls for trimming a thin slice from both ends of each cucumber before cutting them into spears. This helps create a better finished texture.
Pack the Jars Tightly
Arrange the cucumber spears upright in the jars. Tight packing helps prevent the cucumbers from floating while maximizing each jar’s capacity.
Don’t Skip the Pickle Crisp
A small amount of Pickle Crisp (calcium chloride) helps maintain the pickles’ crisp texture during storage.
Allow Time for Flavor to Develop
Although it’s tempting to open a jar immediately, the flavors continue to develop as the pickles sit. Waiting a couple of weeks before opening your first jar results in a more balanced, flavorful pickle.
Serving Ideas
These homemade dill pickle spears are incredibly versatile.
Enjoy them:
- Alongside burgers and hot dogs
- With deli sandwiches and wraps
- On charcuterie and cheese boards
- Chopped into potato salad or egg salad
- With barbecue and grilled meats
- As part of a relish tray
- Straight from the jar as a crunchy snack
They’re also delicious diced into tartar sauce, tuna salad, or homemade ranch dip.
Frequently Asked Questions
Properly sealed jars can be stored in a cool, dark place for up to one year. Once opened, refrigerate and use within one month.
Leaving the recommended ½-inch headspace allows the jars to seal properly during processing.
Yes! The recipe includes optional red pepper flakes if you’d like to add a little heat.
A boiling water canner or large stockpot and basic canning tools make the process much easier and help ensure consistent results.
Make Your Pantry Work for You
Home canning isn’t just about preserving food, it’s about preserving the seasons. Spending an afternoon turning fresh cucumbers into jars of homemade pickles means you’ll have a ready-made side dish, snack, or sandwich topping waiting whenever you need it.
It’s a simple tradition that connects today’s harvest with meals months down the road, making the most of every cucumber your garden or local farmers market has to offer.
Our Recipe Development Process
At Gluten Free & More, we believe recipes should be both approachable and dependable. Every recipe is developed with clear, step-by-step instructions, carefully selected ingredients, and practical techniques that help home cooks achieve consistent results. This Shelf-Stable Dill Pickle Spears recipe walks readers through each stage of the water bath canning process—from soaking the cucumbers and preparing the brine to properly processing and storing the jars—so you can preserve your harvest with confidence.
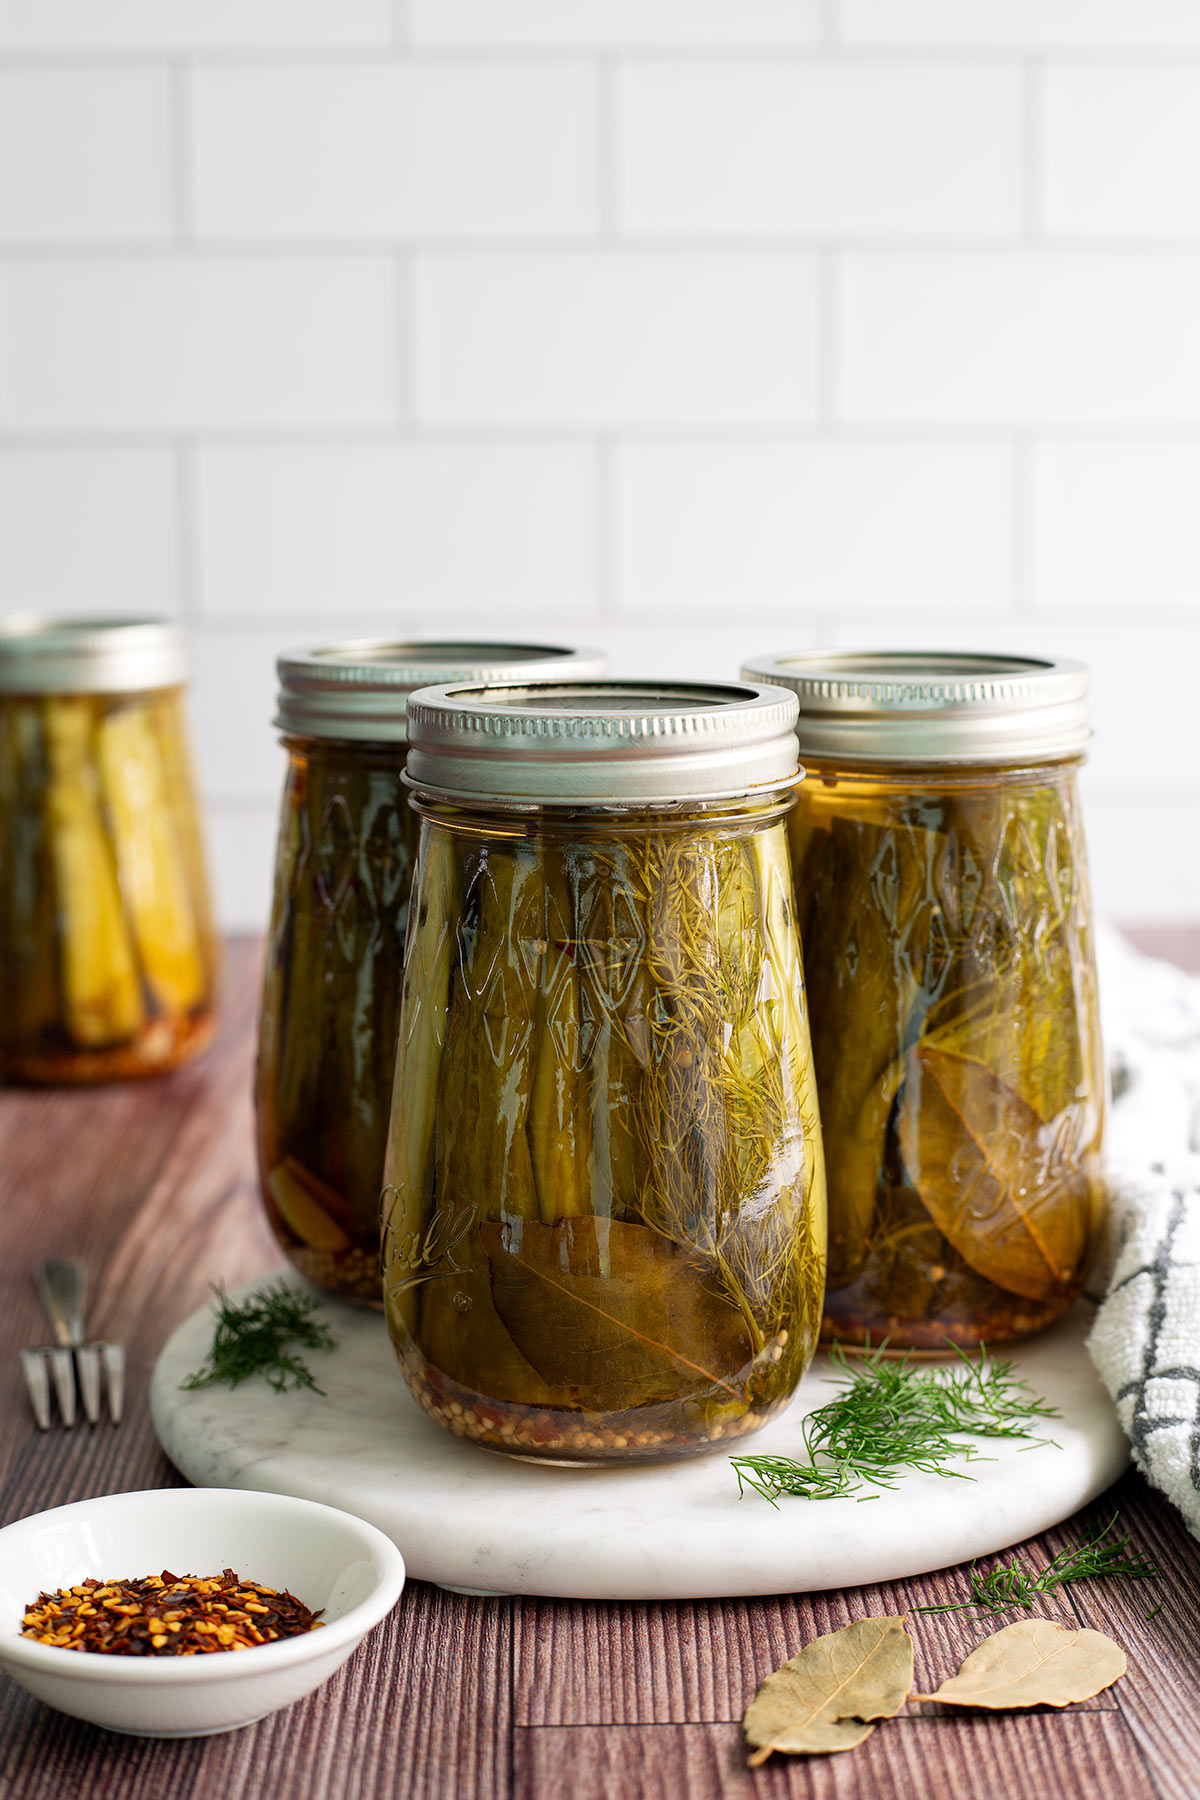
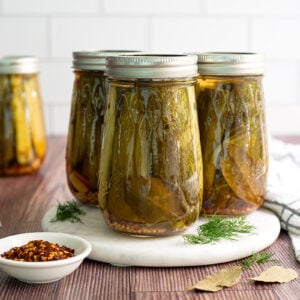
Shelf-Stable Dill Pickle Spears
Ingredients
- 3 pounds mini seedless cucumbers
- Ice water, for soaking
- 2 cups plus 2 tablespoons De La Rosa White Distilled Vinegar, divided
- 2 cups water
- 6 tablespoons Diamond Crystal Kosher salt or ¼ cup pickling salt
- 8 garlic cloves, peeled
- 8 fresh dill sprigs
- 4 bay leaves
- 4 teaspoons mustard seeds
- 1 teaspoon red pepper flakes, (optional)
- ½ teaspoon Pickle Crisp, (calcium chloride), divided
Equipment
- 4 pint canning jars with lids and bands
- Large stockpot or water-bath canner
- Jar lifter
- Canning funnel
- Bubble remover or thin spatula
Instructions
- Wash the cucumbers thoroughly. Trim a thin slice from both ends of each cucumber and cut them lengthwise into spears.
- Place the cucumber spears in a large bowl and cover completely with ice water. Let soak for 2 to 4 hours. Drain well before packing into jars.
- Meanwhile, prepare a boiling water canner and heat the water plus 2 tablespoons of vinegar to a simmer. Wash the jars, lids, and bands in hot, soapy water. Then, sanitize in the vinegar water for 5 minutes. Remove and place on a clean towel to cool. Let the water continue to simmer.
- In a large saucepan, combine the De La Rosa White Distilled Vinegar, water, and pickling salt. Bring to a boil, stirring until the salt dissolves. Reduce the heat and keep the brine hot.
- Place 2 garlic cloves, 2 dill sprigs, 1 bay leaf, 1 teaspoon mustard seeds, ½ teaspoon black peppercorns, and a pinch of red pepper flakes, if using, into each jar.
- Pack the cucumber spears tightly into the jars, arranging them upright and leaving ½-inch headspace.
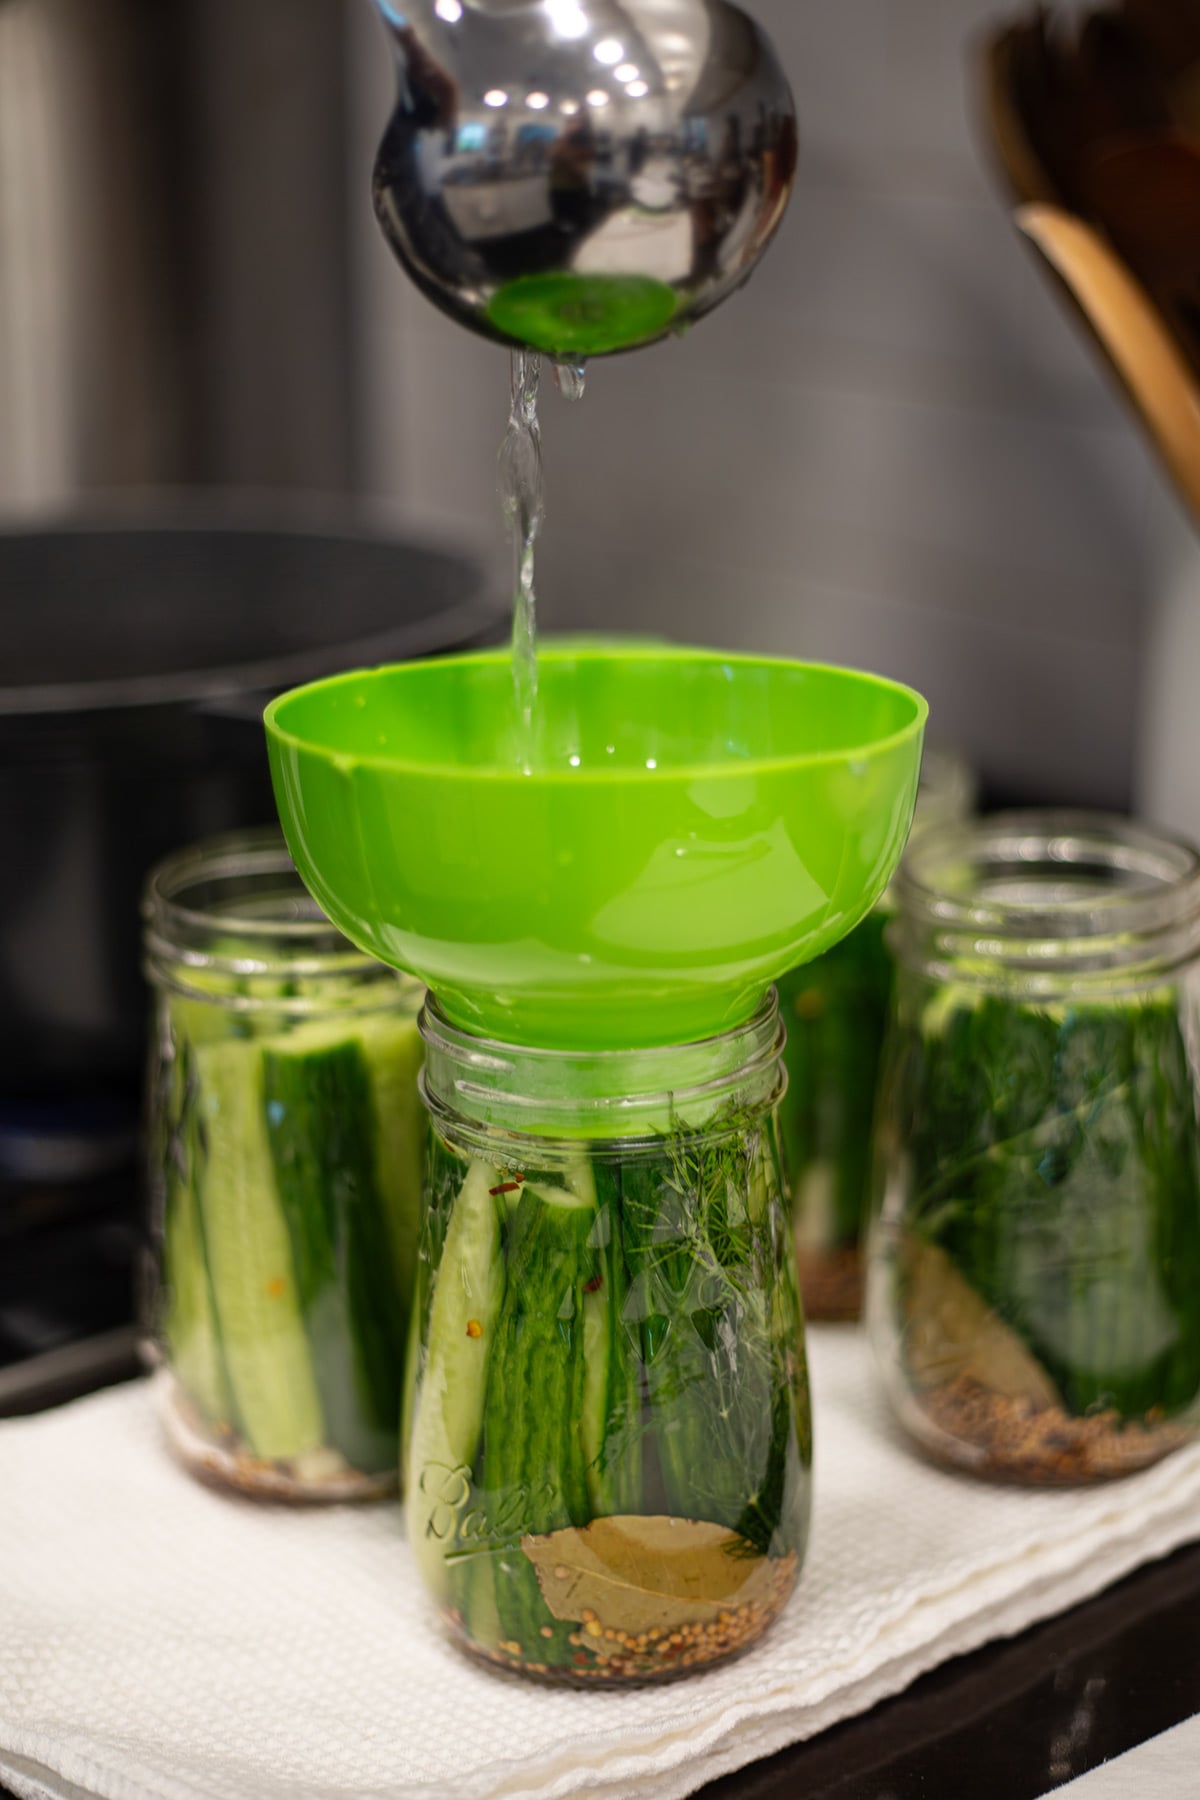
- Carefully ladle the hot brine into the jars, maintaining ½-inch headspace. Remove any trapped air bubbles using a bubble remover or thin spatula. Add additional brine if needed to maintain the proper headspace. Cover all the cucumbers.
- Add ⅛ teaspoon of pickle crisp to each jar.
- Wipe the jar rims with a clean damp cloth. Place the lids on the jars and screw on the bands until fingertip-tight.
- Place the jars in the simmering water canner, ensuring they are covered by at least 1 inch of water. Bring the water to a full boil and process for 10 minutes, adjusting for altitude if necessary. Turn off the heat and let sit for 5 more minutes.
- Carefully remove the jars and place them on a towel-lined counter. Allow them to cool undisturbed for 12 to 24 hours.
- After cooling, check that the jars have sealed properly. Remove the bands, wipe the jars clean, label, and store in a cool, dark place.
- Properly sealed jars may be stored for up to 1 year. Once opened, refrigerate and use within 1 month.
Nutrition
Nutrition information is automatically calculated, so should only be used as an approximation.